Description
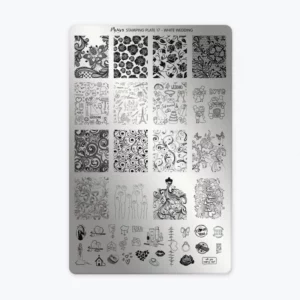
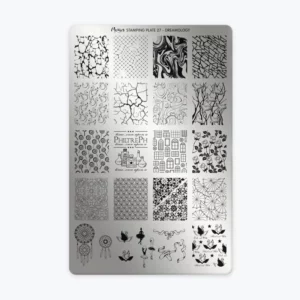
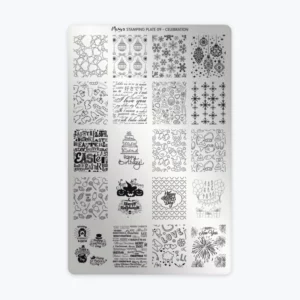
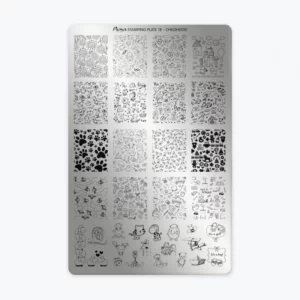
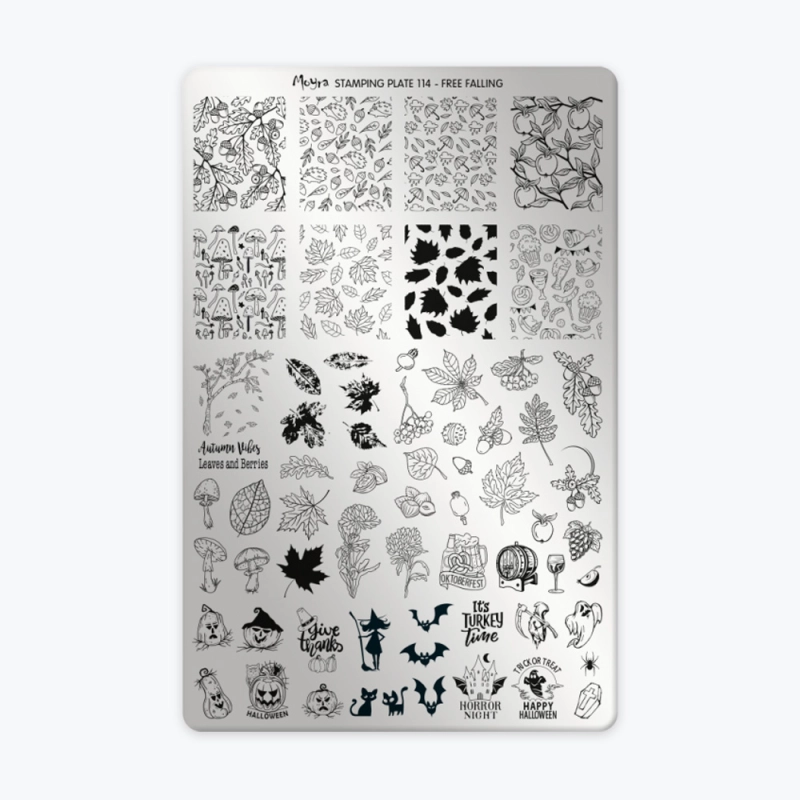
Features Dimensions: 14.50 x 9.50 cm Material: Stainless steel Theme: Free Falling, autumn, Halloween, fun and spooky patterns Usage and Compatibility The Moyra Stamping Plate 114 - Free Falling is perfect for creating stunning autumn nail art. Featuring designs of autumn leaves, pumpkins, ghosts, bats, and Halloween scenery, it offers a wealth of creative options for fun, spooky, or elegant manicures. This plate is ideal for thematic creations related to the fall season and Halloween celebrations. It is suitable for both beginners and professionals alike. When used with classic stamping polish and a stamper, it guarantees precise and detailed results. Check the "Protocol" tab for more details.Protocol:
Using Stamping Plates
-Remove the blue plastic film from the plate.
-Degrease your plate with Cleaner.
-Ensure your gel or semi-permanent polish application is properly applied and cured.
-Apply a matte top coat over your color.
-Apply the polish onto the chosen design.
-Gently and precisely scrape off the excess polish using a scraper held at a 45° angle.
-Quickly position your stamping tool over the design, pressing lightly to transfer the image onto the stamper.
-Position the stamper over the nail and ensure the design is correctly placed.
-Gently press the stamper onto the nail to transfer the design.
-Apply a top coat and cure for 2 minutes under a UV-LED lamp.