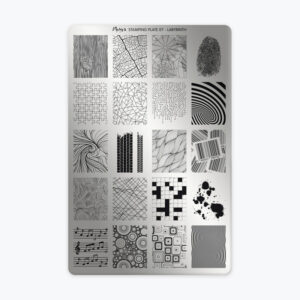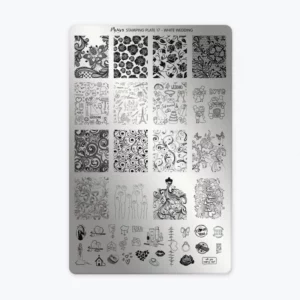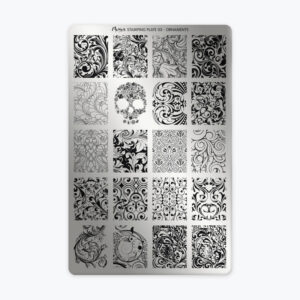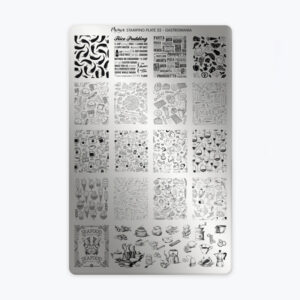
Description
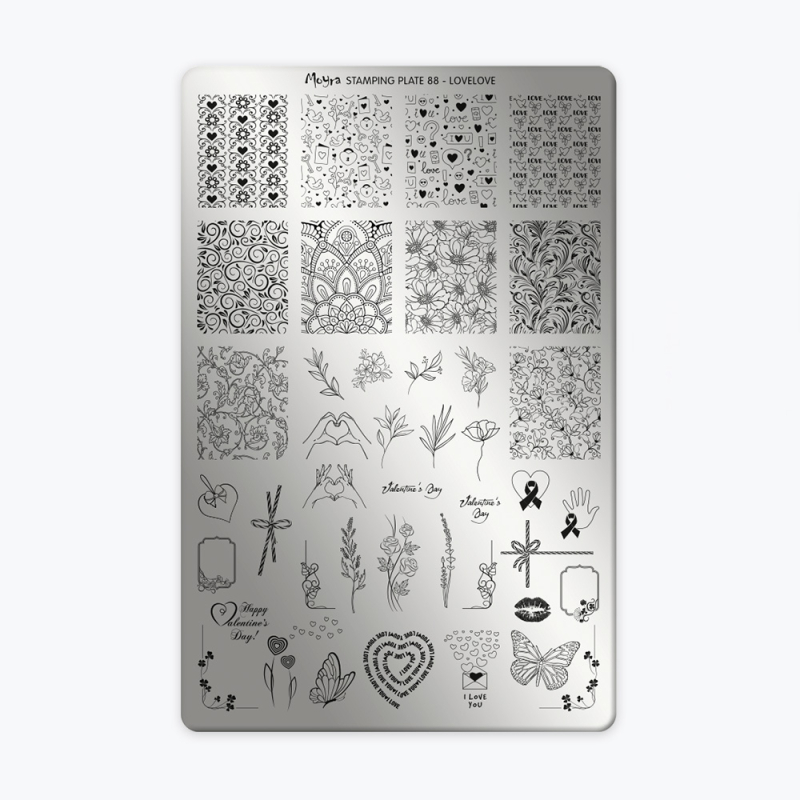
Features Dimensions: 14.50 x 9.50 cm Material: Stainless steel Theme: Flowers, hearts, butterflies and springtime designs Usage and Compatibility The Moyra Stamping Plate 88 - LoveLove is the perfect choice for creating romantic, natural, and beautifully soft nail art. Featuring delicate floral patterns, ethereal butterflies, and poetic hearts, this plate is ideal for creating subtle, on-trend manicures. It is perfectly suited for the spring season, weddings, or any special occasion. Designed for both beginners and professionals, it is used with stamping polish and a stamper to achieve crisp, sophisticated results every time. Check the "Instructions" tab for more details.Instructions:
Using stamping plates
-Remove the blue protective film from the plate.
-Degrease your plate with Cleaner.
-Ensure your gel or gel polish application is properly applied and cured.
-Apply a matte top coat over your color.
-Apply stamping polish to the chosen design.
-Scrape the polish with a delicate and precise movement using a scraper tilted at 45°.
-Quickly press your stamper onto the design, applying light pressure to transfer the image onto the stamper.
-Position the stamper over the nail and check that the design is properly aligned.
-Gently press the stamper onto the nail to transfer the design.
-Apply a top coat and cure for 2 minutes under a UV-LED lamp.