Description
Features
- Dimensions: 14.50 x 9.50 cm
- Material: Stainless steel
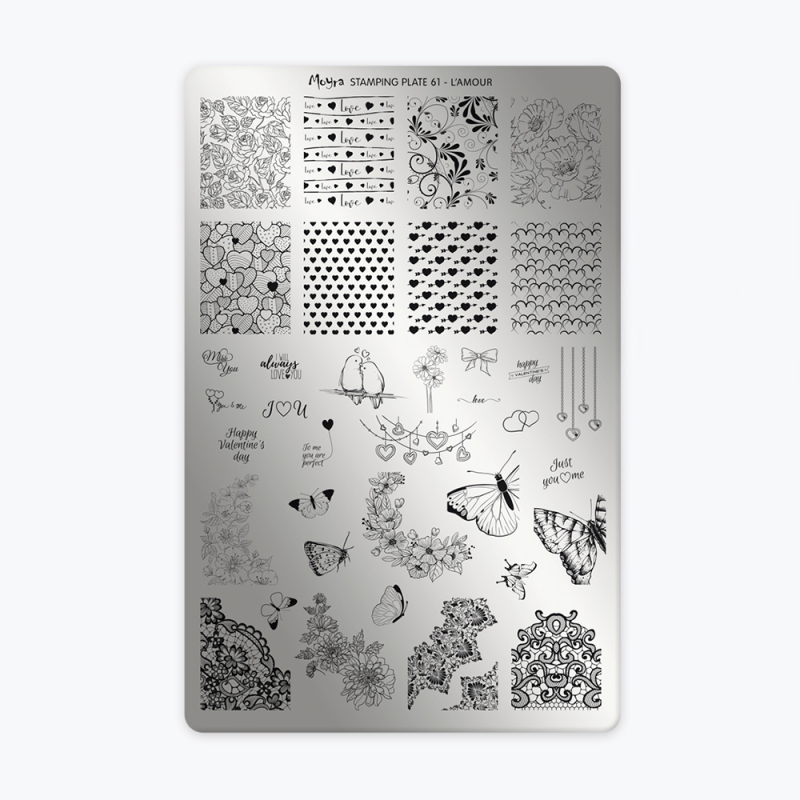
- Theme: Love, hearts, butterflies, and Valentine's Day decorations
Usage and Compatibility
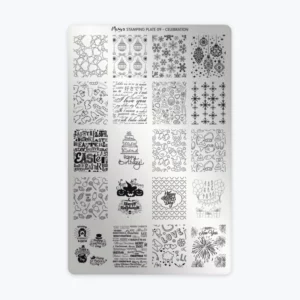
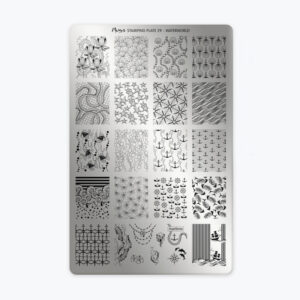
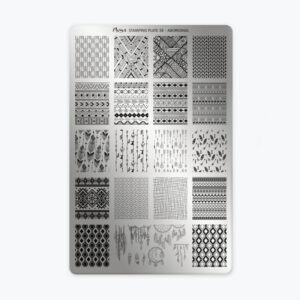
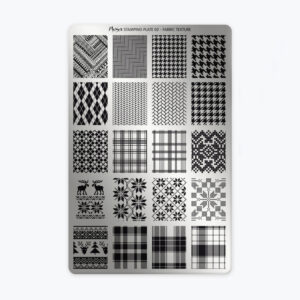
The Moyra Stamping Plate 61 - Love is the perfect tool for creating romantic, personalized nail art. Featuring a wide array of hearts, butterflies, love letters, and Valentine-themed decorative elements, this plate allows you to design soft and elegant manicures with ease.
Whether you are celebrating Valentine's Day, a wedding, or simply want to add a romantic touch to your sets, this plate is ideal for both beginners and professionals. It is designed to be used with stamping polish and a stamper for crisp, precise results.
Check the "How to Use" tab for more details.
How to Use:
Stamping Plate Instructions
- Remove the blue protective film from the plate.
- Degrease your plate with Cleaner.
- Ensure your gel or gel polish application is properly applied and cured.
- Apply a matte top coat over your color.
- Apply stamping polish to the chosen design.
- Scrape off excess polish with a scraper tilted at a 45° angle using a smooth, precise motion.
- Quickly press your stamper onto the motif with light pressure to transfer the image onto the stamper.
- Position the stamper over the nail and check the alignment.
- Gently press the stamper onto the nail to transfer the design.
- Apply a top coat and cure for 2 minutes under a UV-LED lamp.