Description
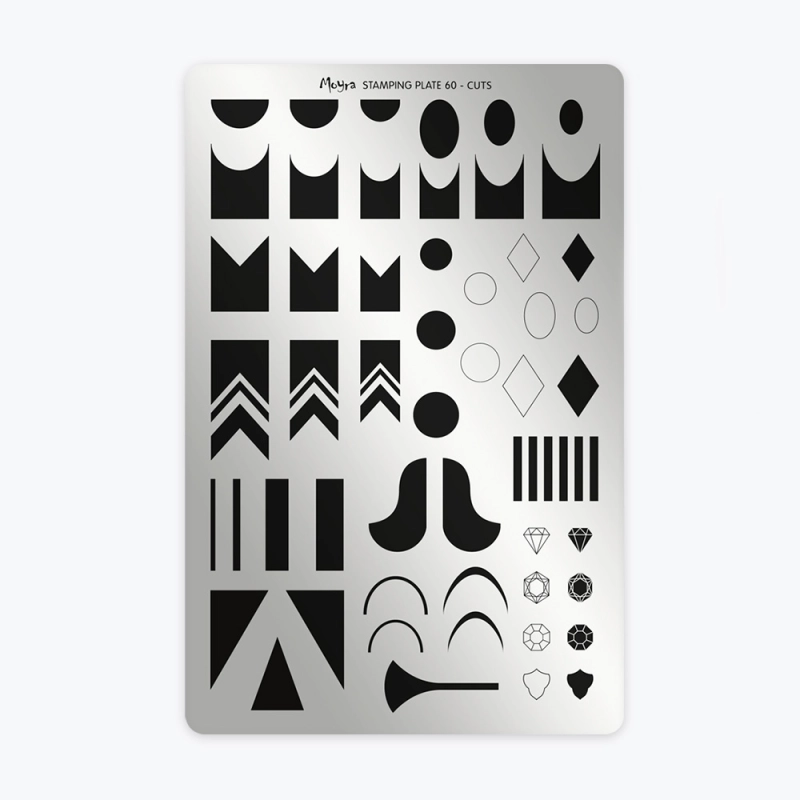
Specifications Dimensions: 14.50 x 9.50 cm Material: Stainless steel Theme: Geometric shapes, lines, triangles, ovals Usage and Compatibility The Moyra Stamping Plate 60 - Cuts is the perfect tool for creating structured, graphic nail art with ease. Featuring a variety of geometric patterns including triangles, crisp lines, oval shapes, and abstract symbols, it allows you to design modern, elegant manicures with professional precision. Suitable for both beginners and professionals, this plate makes intricate designs effortless to achieve. Use it with standard nail polish and a stamping tool for a sharp, consistent finish. Check the "How to Use" tab for more details.How to Use:
Using stamping plates
- Remove the blue protective film from the plate.
- Cleanse the plate with a dedicated Cleaner.
- Ensure your gel or semi-permanent polish base is correctly applied and fully cured.
- Apply a matte top coat over your color.
- Apply stamping polish to your chosen design.
- Using a scraper held at a 45° angle, gently and precisely scrape off the excess polish.
- Quickly press your stamping tool onto the pattern with light pressure to transfer the image.
- Align the stamper over the nail and check the positioning.
- Gently press the stamper onto the nail to transfer the design.
- Apply a top coat and cure for 2 minutes under a UV-LED lamp.