Description
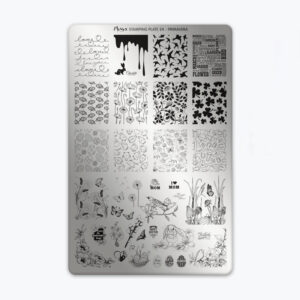
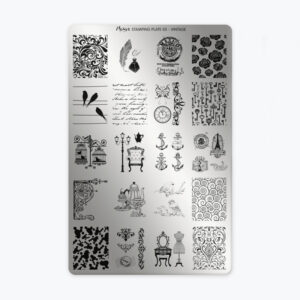
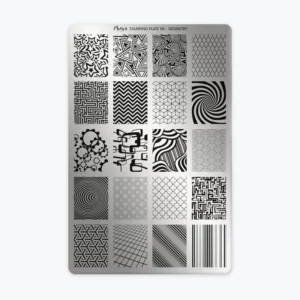
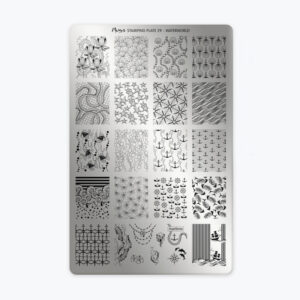
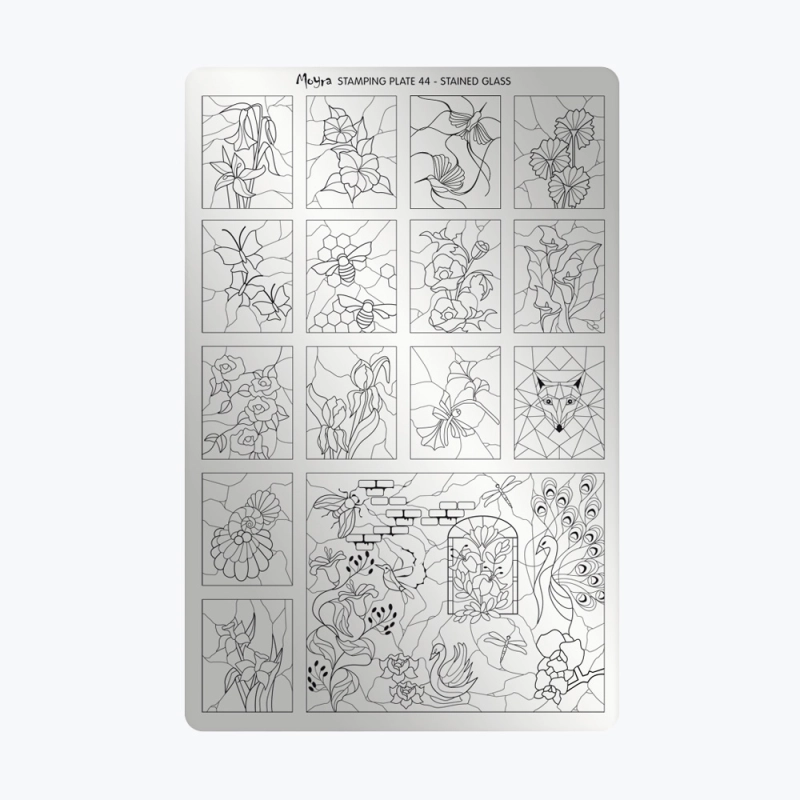
Features Dimensions: 14.50 x 9.50cm Material: Stainless steel Theme: Stained Glass, floral motifs, and bees Usage and Compatibility The Moyra Stamping Plate 44 - Stained Glass is the ultimate tool for achieving sophisticated nail art inspired by cathedral glass and glass painting. Its intricate motifs feature flowers, bees, complex geometric shapes, and designs reminiscent of vibrant colored glass, offering endless creative possibilities. This plate is perfect for artistic manicures, detailed creations, and elegant nail designs. It is suitable for both beginners and professionals. When used with standard stamping polish and a stamper, it ensures crisp, refined results every time. Check the "How to Use" tab for more details.How to Use:
Stamping Plate Instructions
-Remove the blue protective film from the plate.
-Degrease your plate with Nail Cleaner.
-Ensure your gel or gel polish application is correctly applied and cured.
-Apply a matte top coat over your color.
-Apply stamping polish to your chosen design.
-Scrape the excess polish with a scraper held at a 45° angle in a swift, delicate motion.
-Quickly press your stamper onto the design to transfer the image.
-Position the stamper over the nail and ensure the alignment is correct.
-Gently press the stamper onto the nail to transfer the design.
-Apply a top coat and cure for 2 minutes under a UV-LED lamp.