Description
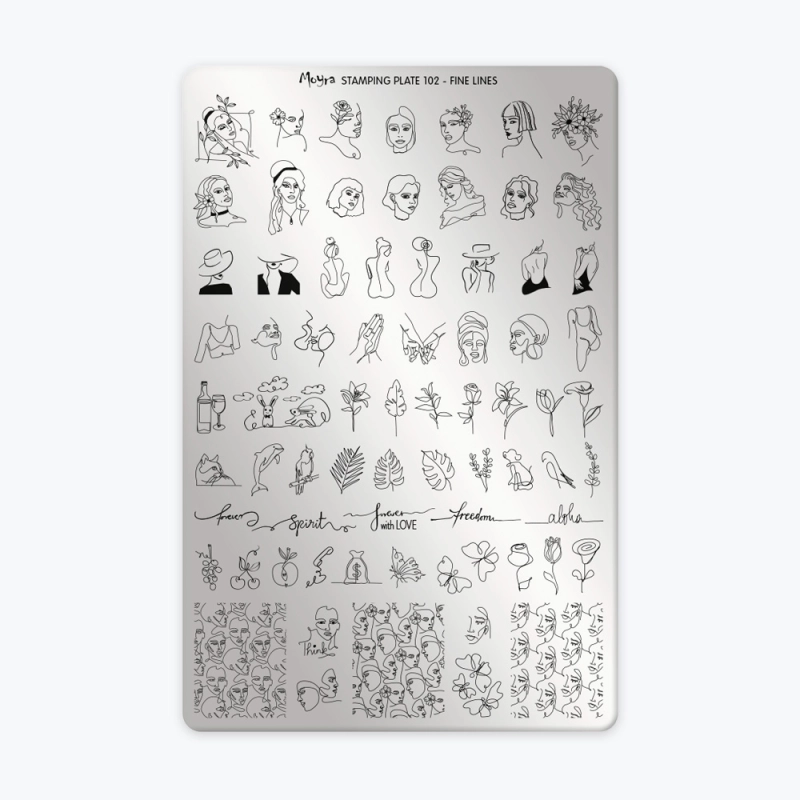
Features Dimensions: 14.50 x 9.50 cm Material: Stainless steel Theme: Minimalist patterns and fine-line designs Usage and Compatibility Moyra’s Stamping Plate 102 - Fine Lines is perfect for creating on-trend, minimalist nail art. Its sleek, fine-line motifs—featuring delicate faces and floral outlines—allow you to compose graphic manicures inspired by the fine-line tattoo aesthetic. It is equally suited for beginners and professional nail technicians. When used with a specialized stamping polish or semi-permanent gel and a stamping tool, it guarantees precise and highly detailed results. Check the "Protocol" tab for more details.Protocol:
How to use stamping plates
- Remove the blue plastic protective film from the plate.
- Degrease your plate with Cleaner.
- Ensure your gel or semi-permanent polish base is properly applied and cured.
- Apply a matte top coat over your color.
- Apply the polish to your chosen design.
- Scrape off the excess polish with a swift, precise motion using a scraper tilted at a 45° angle.
- Quickly press your stamper onto the design with light pressure to transfer the image onto the tool.
- Position the stamper over the nail and verify the alignment.
- Gently press the stamper onto the nail to transfer the design.
- Apply a top coat and cure for 2 minutes under a UV-LED lamp.