Description
Specifications
- Dimensions: 14.50 x 9.50 cm
- Material: Stainless steel
- Theme: Winter, snow, snowflakes, and Christmas decorations
Usage and Compatibility
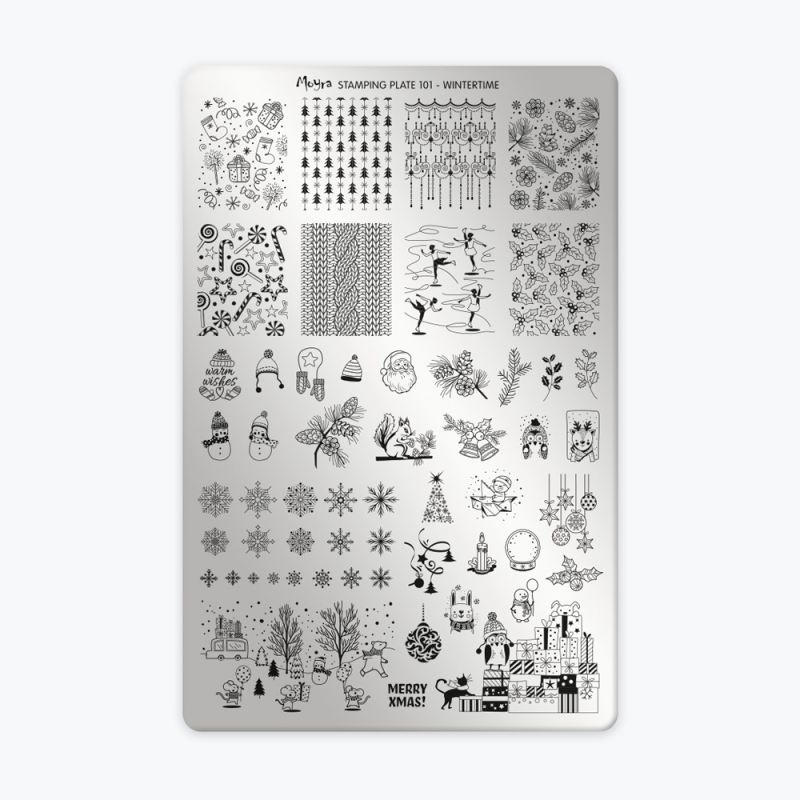
Bring the magic of the season to your fingertips with the Moyra Stamping Plate 101 - Wintertime. This plate is the ultimate tool for creating stunning, festive nail art inspired by the beauty of winter.
Featuring an array of intricate snowflakes, holiday ornaments, and classic seasonal motifs, it allows you to design professional-grade manicures perfect for the holiday season. Whether you are a beginner or a seasoned nail technician, this plate guarantees crisp, highly detailed results when paired with stamping polish or stamping gel and a high-quality stamper.
Check the "Protocol" tab for step-by-step instructions.
Protocol:
How to use stamping plates
- Remove the blue protective film from the plate.
- Degrease the plate thoroughly with Cleaner.
- Ensure your gel or semi-permanent polish base is correctly applied and cured.
- Apply a matte top coat over your base color.
- Apply stamping polish onto your chosen design.
- Scrape off the excess polish with a scraper held at a 45° angle using a swift, precise motion.
- Quickly pick up the design with your stamper by pressing down lightly to transfer the image.
- Position the stamper over the nail and check the alignment.
- Gently press the stamper onto the nail to transfer the design.
- Apply a final top coat and cure for 2 minutes under a UV-LED lamp.