

Description
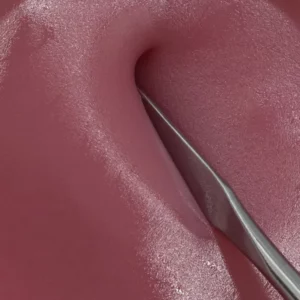
Features Kit Contents: Stamper + Scraper Usage and Compatibility The Stamper & Scraper Kit is the perfect duo for creating precise, detailed nail art with stamping plates. The transparent stamper allows for effortless positioning, while the thin, flexible scraper ensures clean, sharp lines every time. Whether you are working with gel, Tube Art, or specialized stamping polish, this kit delivers a flawless, professional result. Its versatility makes it an essential tool for both professional nail technicians and DIY nail art lovers. Pro tip: Never clean the stamper head with Cleaner or nail polish remover, as this will cloud or matte the surface. To remove leftover or dried patterns, simply use a lint roller after drying or curing. See the "Protocol" tab for more details.Instructions:
Application with Gel or Tube Art
- Thoroughly clean the stamping plate with a non-greasy cleanser.
- Select your colors: gel paints, Tube Art, stamping polish, or gel polish.
- Apply a sufficient amount of product to your chosen design.
- Scrape one to three times in different directions, taking care not to remove too much product.
- Roll the stamper over the design without applying excessive pressure.
- Flash cure the design immediately with a Mini Lamp for 1-2 seconds.
- Position using the clear stamper, then apply it gently to the nail with a rolling motion.
- (Optional: Apply chrome or pigment powder)
- Apply a top coat and cure.
-
Application with Nail Polish
- Clean the plate thoroughly with Stamping Plate Cleaner.
- Select your stamping polish colors.
- Apply a sufficient amount of product to the chosen design.
- Scrape once or twice in different directions without removing too much product.
- Press the stamper flat onto the design within 3 seconds of scraping.
- Position through the clear stamper and apply to the nail using a rolling or pressing motion.
- (Optional: Apply chrome or pigment powder)
- Apply a top coat and cure.
-
Cleaning
Never clean the stamper with Cleaner or nail polish remover, as this risks clouding the head. To remove dried designs, use a lint roller after drying or curing.